VIM 8.0 赶在中秋前发布,也算给广大 VIM 脑残粉送上了一份大礼。然而,中秋前要赶项目进度,一直没有抽出时间更新,怕破坏开发环境。正好今天放假,先把家里 Mac 上的 VIM 升级一下,尝尝鲜。
下载源码
The best way to install Vim on Unix is to use the sources. This requires a compiler and its support files. Compiling Vim isn’t difficult at all. You can simply type “make install” when you are happy with the default features. Edit the Makefile in the “src” directory to select specific features.
使用 git clone 比较浪费时间,还是下载压缩包比较好。在 Github Vim Releases 列表 选择一个最新版本,下载即可。例如,我下载的是 vim-8.0.0004.tar.gz。源码包大小有 12.9M 之巨。解压
tar xvzf vim-8.0.0004.tar.gz
编译安装
继续沿用 Vim7.4 在 Mac 10.11 上的编译参数
./configure --prefix=/opt/local --with-features=huge --enable-pythoninterp=yes --enable-multibyte --with-vim-name=vim --with-python-config-dir=/usr/lib/python2.7/config
注:由于,我要使用 UltiSnips,所以增加了 Python 支持。
make
sudo make install
然而当我敲下 sudo make install, 我吓尿了
”`
% sudo make install
We trust you have received the usual lecture from the local System
Administrator. It usually boils down to these three things:
#1) Respect the privacy of others.
#2) Think before you type.
#3) With great power comes great responsibility.
”`
好吧,能力越大责任越大,我庄严地输入了密码。安装过程结束。
基本功能体验
输入 vim 之后,出现了熟悉的画面
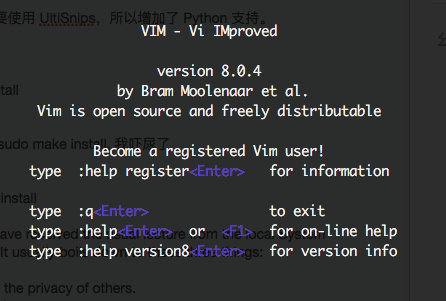
没有报错,说明之前的 vimrc 配置没有兼容问题。又测试了几行最拿手的 Hello World 也没有问题。很好,兼容性甚佳。以往的 snippets 也可以正常使用。
新功能 - 包管理
看了一下 Vim 8 自带的包管理功能
:h package
无感,因为我没写过插件。。。还是继续使用我的 vundle。
关于作者 🌱
我是来自山东烟台的一名开发者,有感兴趣的话题,或者软件开发需求,欢迎加微信 zhongwei 聊聊,或者关注我的个人公众号“大象工具”, 查看更多联系方式